


Encrypted containers with VeraCrypt: step-by-step instructions
Among other things, VeraCrypt can be used to create encrypted files - so-called containers - that can be used like a normal drive after they have been "mounted" as a virtual drive in the operating system. These containers can be located on a hard drive, external storage media, network drives or cloud storage and can be used from there.
Below you will find step-by-step instructions using Windows 10 as an example. The procedure under Mac OS X and Linux is similar in principle, except that "slots" are used instead of drive letters.
Step 1:
Download the installation file for your operating system from the official VeraCrypt website https://www.veracrypt.fr/en/Downloads.html and run it. The installation is completed in just a few clicks and in most cases you can retain the settings preselected in the installer.
Step 2:
Then start VeraCrypt.
Step 3:
Now select "Create volume" in the programme window.
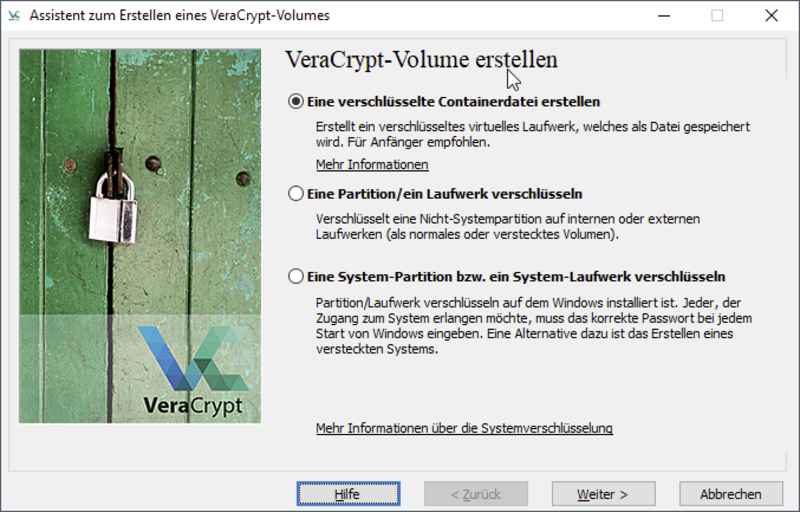
Step 4:
Now confirm the item "Create an encrypted container file".
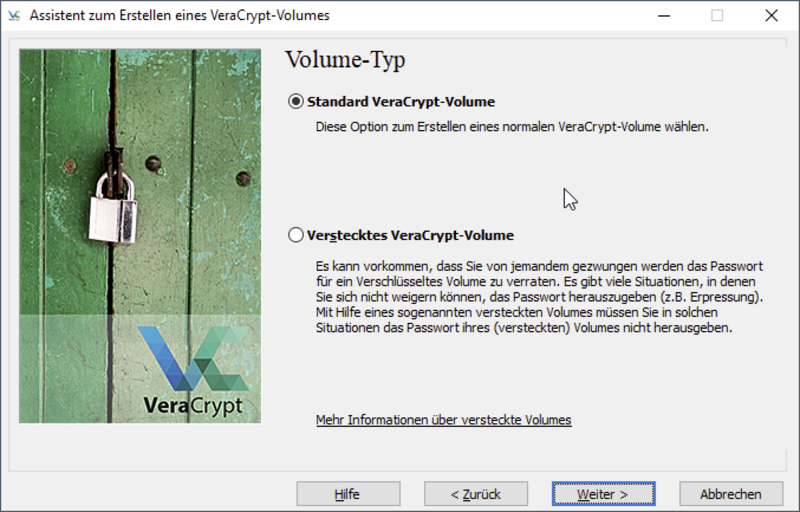
Step 5:
Please select the item "Standard VeraCrypt volume".
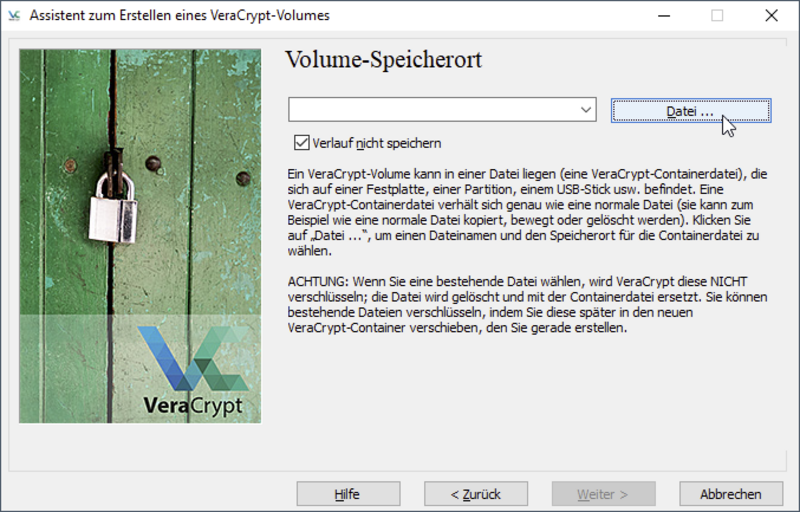
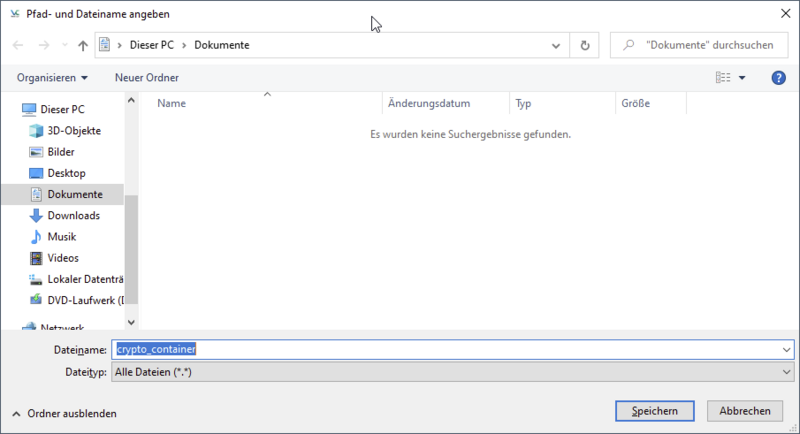
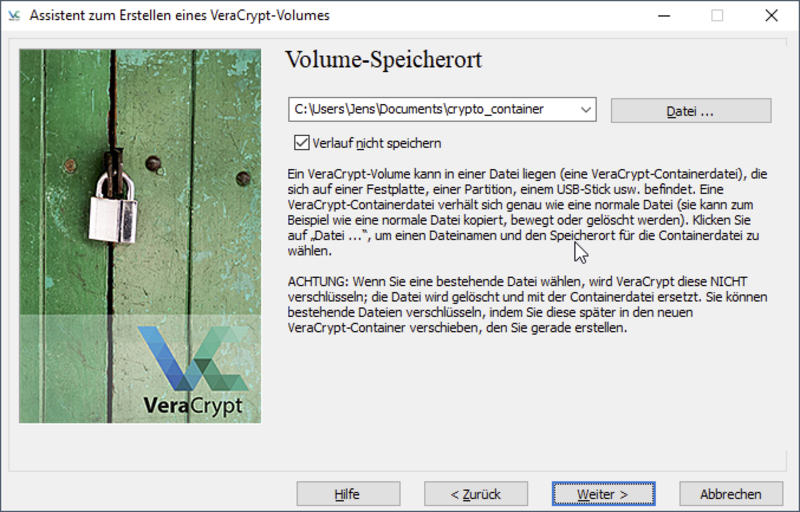
Step 6:
You must now specify the desired storage location and the name of your container file. Click on "File...", navigate to the desired storage location and assign a name for the container file. In our example, we call the container "crypto_container" and store it in the current user's documents folder. However, you can also store the container file on external storage media (USB stick, USB-HDD), network drives or cloud storage.
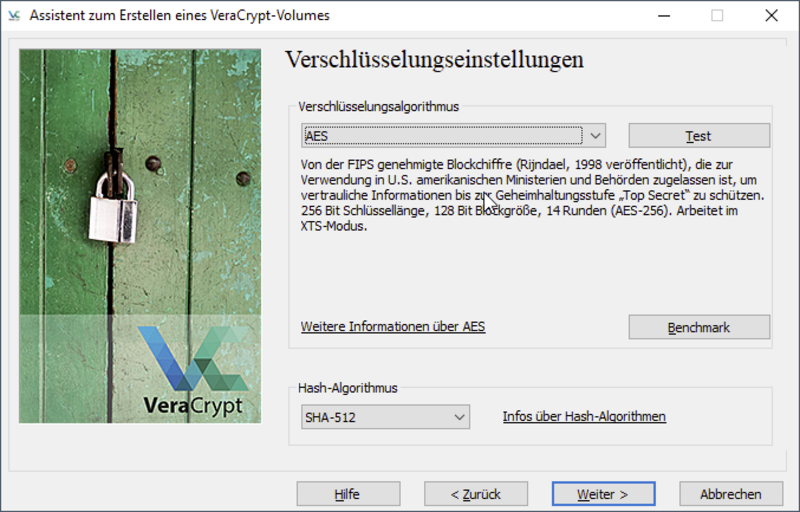
Step 7:
Once the name and storage location of the container have been set, the encryption settings must be chosen. Here you can retain and confirm the default values "AES" as the encryption algorithm and "SHA-512" as the hash algorithm.
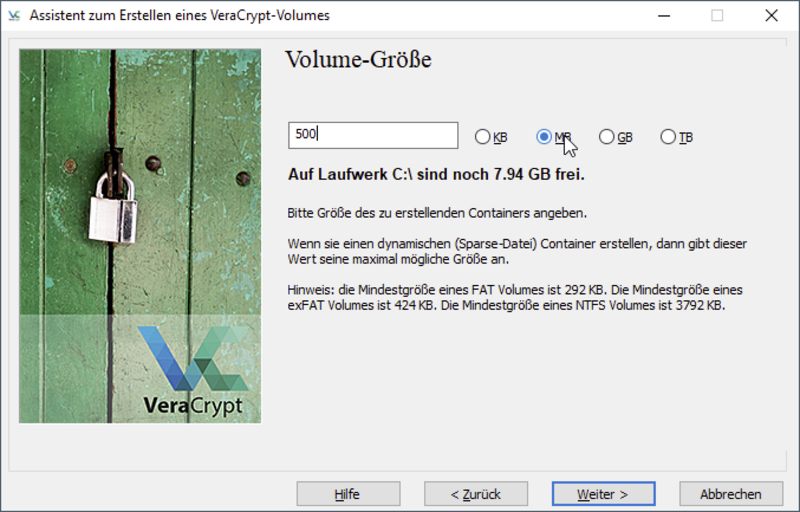
Step 8:
The size of the container must now be specified. In our example, we specify a size of 500MB. The size you specify here depends entirely on how much data you expect to store in the container and where the container will be saved.
Please note that the storage space specified here will be used immediately after the container is created, even if no files have yet been saved in the container. In principle, it is possible to create a "dynamic container file" whose size gradually increases as more data is stored in it. However, this has disadvantages and is not part of these instructions.
Step 9:
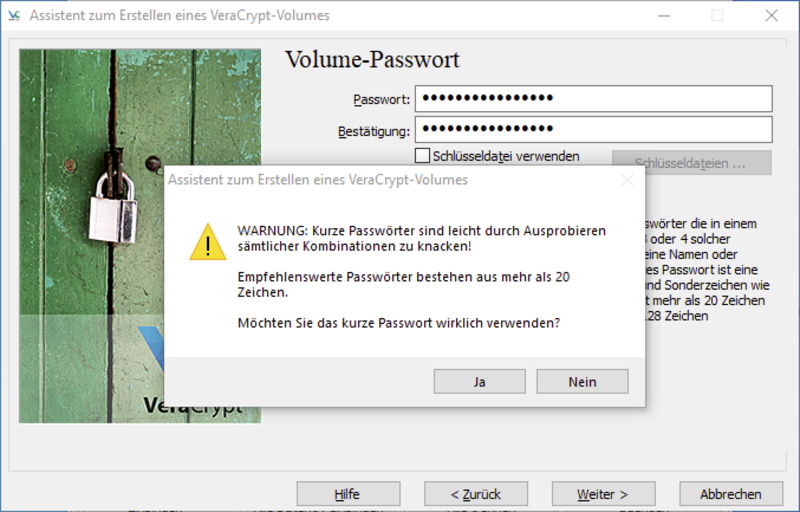
A secure password must now be assigned for the container. Please do not use your JMU password or another password that you currently use.
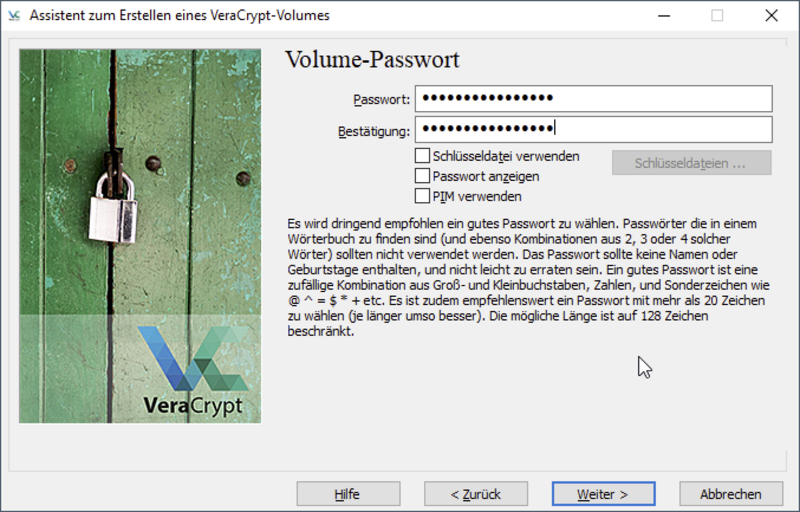
VeraCrypt recommends passwords longer than 20 characters and will ask you for explicit confirmation if the password you have chosen is shorter.
Step 10:
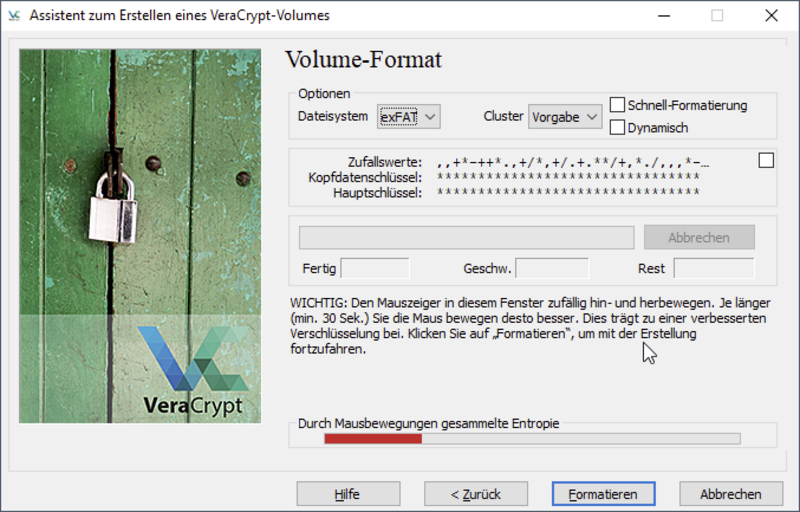
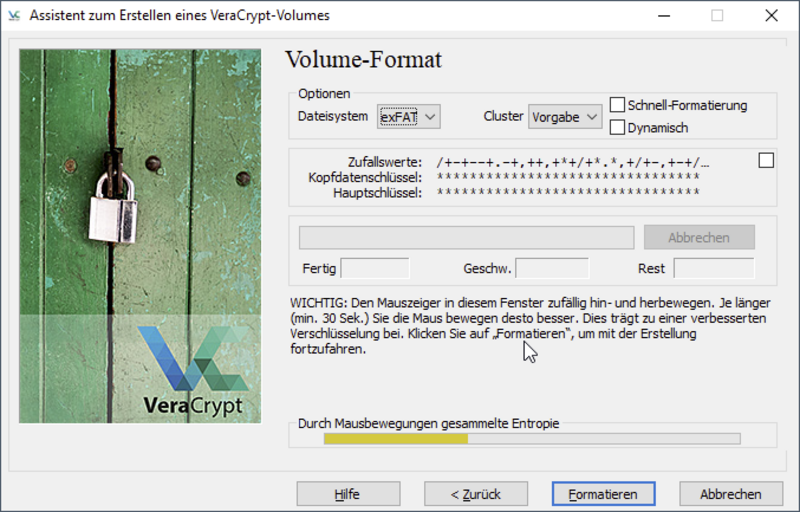
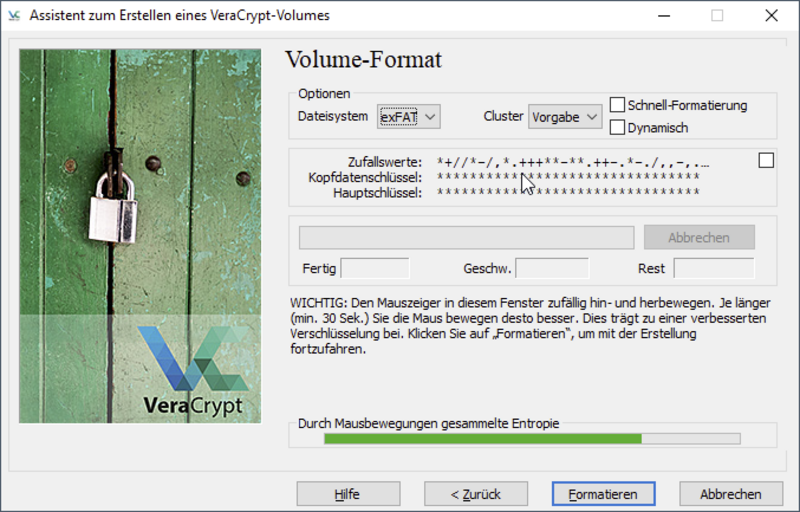
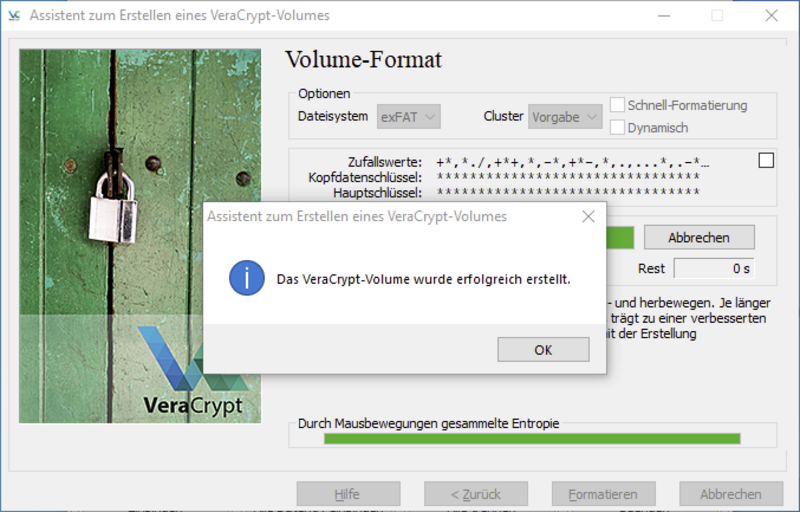
In the following dialogue, you must specify the file system and ensure sufficient entropy. Select "exFAT" as the file system and move the mouse pointer back and forth in the dialogue window until the bar changes from red to yellow to green. Then click on "Format".
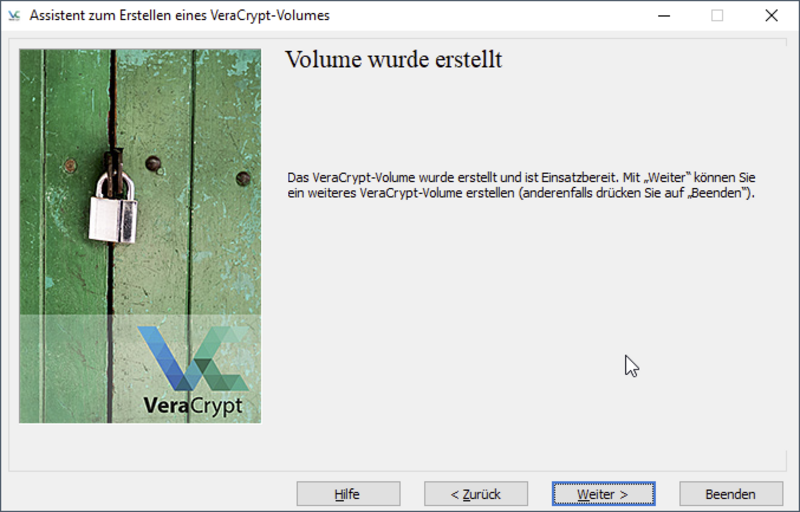
Step 11:
Once formatting has been completed, the container is ready and can be used.
Step 12:
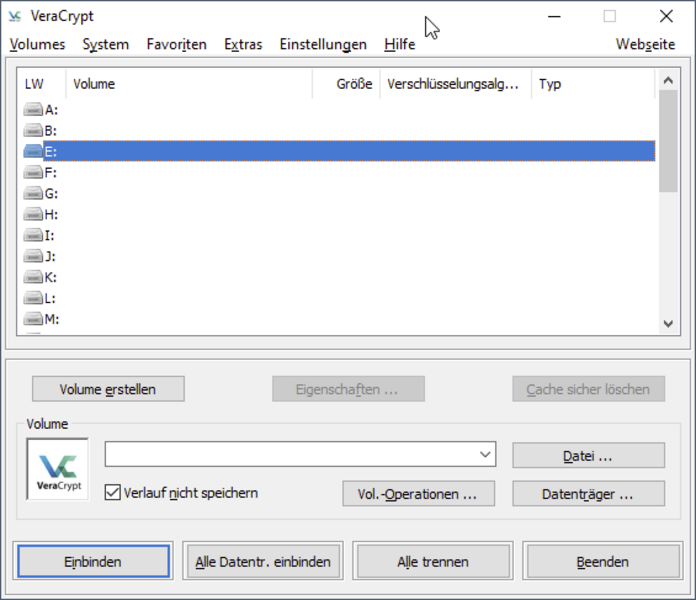
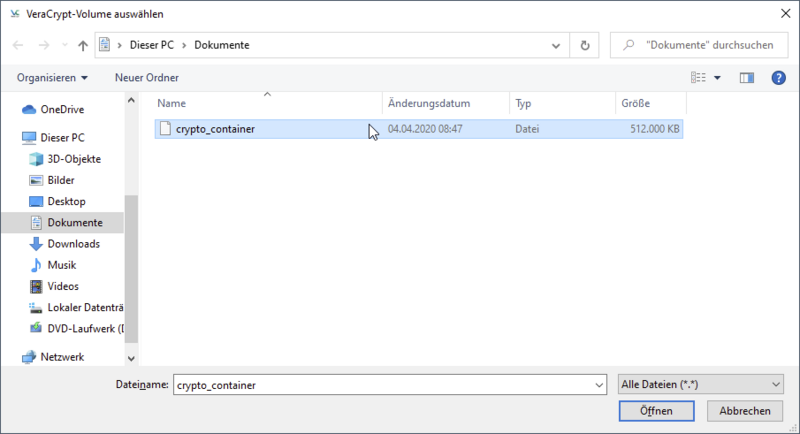
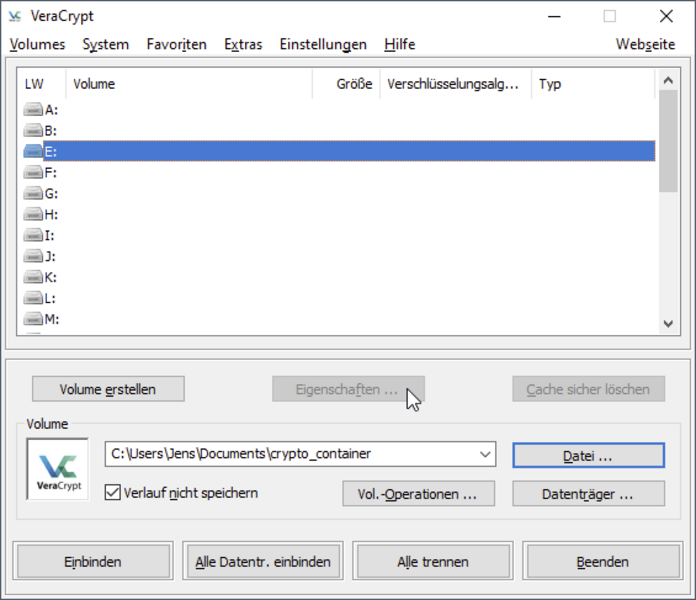
You are now back in the main VeraCrypt window. To use the container you have just created, select one of the free drive letters. In our example, the container is to be made usable in the system under "E:". After clicking on "File...", navigate to the storage location of your container file and select it.

Step 13:
After clicking on "mount", you will be asked to enter your password for the container.
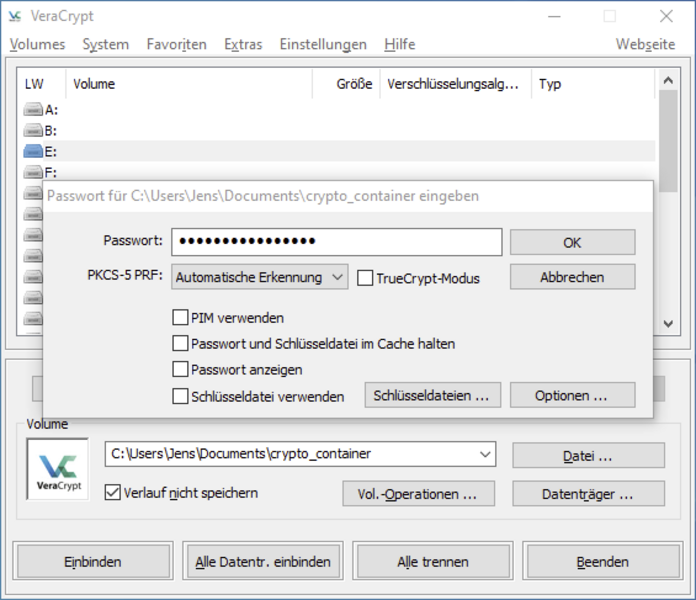
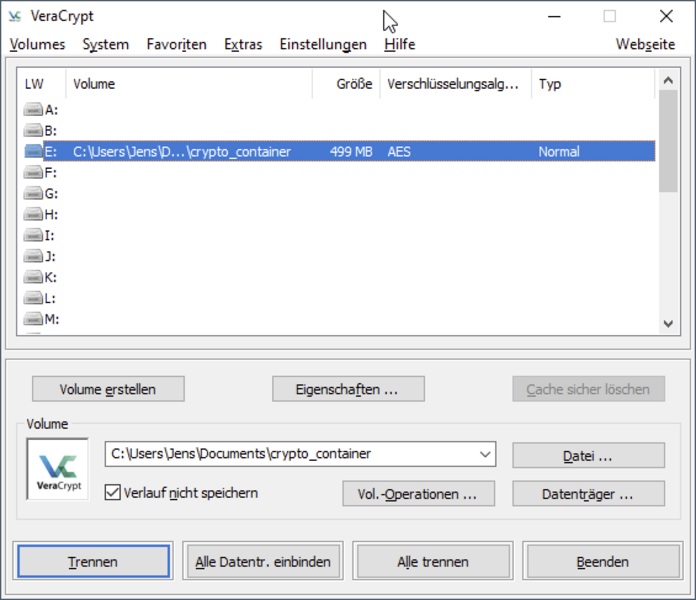
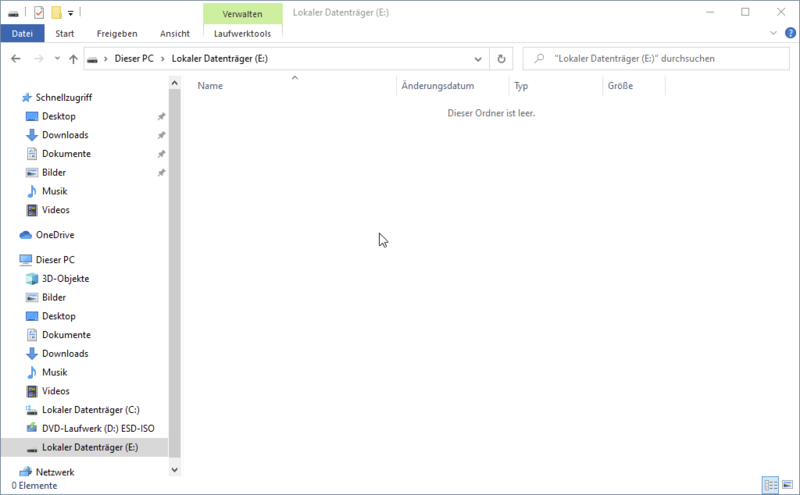
Step 14:
If everything went well, you will see the container information in the VeraCrypt main window and can now use your container under the selected drive letter like a normal drive.
Step 15:
If you do not need your container to work in the meantime, you can also "unmount" it from the system. To do this, select the container in the VeraCrypt main window using the drive letter and click on "Disconnect". This disconnects the virtual drive. Alternatively, you can also click on "Disconnect all" and disconnect all mounted VeraCrypt containers from the system at once. All containers are automatically disconnected when the system is shut down.

Note:
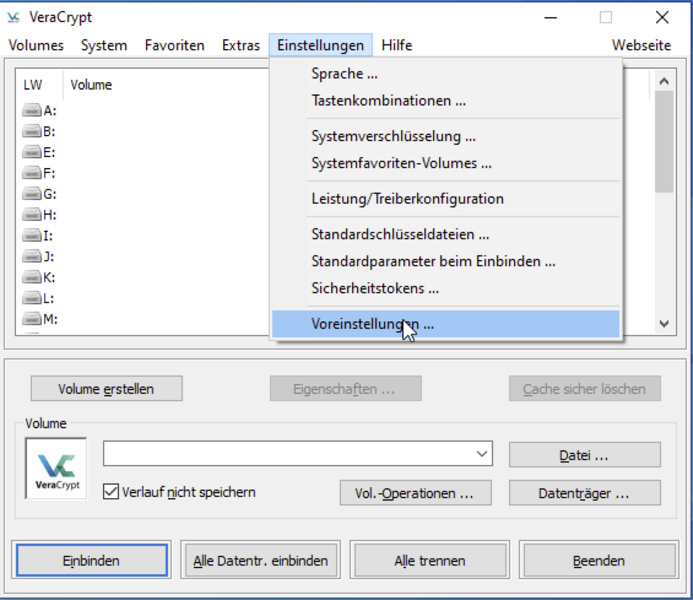
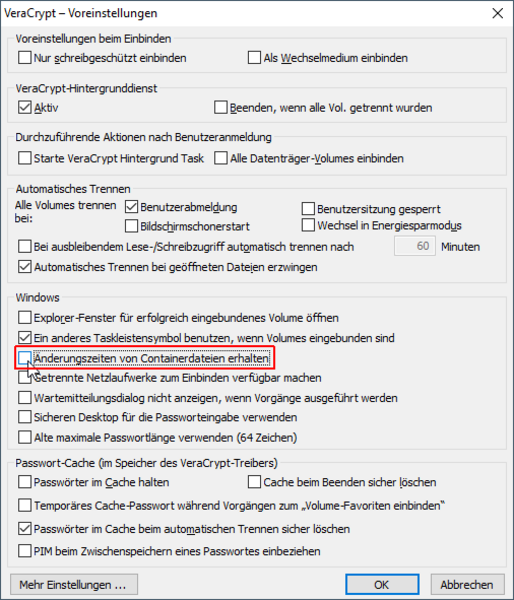
If you have set up an automatic backup of your computer and want your container file to be included in this backup, you must uncheck the box "Preserve change times of container files" in the VeraCrypt settings, otherwise there is a risk that the container will only be backed up once in the backup.